
How to Build a Model Train Layout: The Best Method From Planning to Perfection!
Ever dreamed of creating your own miniature world where trains glide through stunning scenery and realistic towns? Whether you’re a beginner or a long-time enthusiast, building a model train layout is one of the most exciting and rewarding parts of the hobby. In this guide, we’ll walk you through the entire process — from the first sketches to the final scenic touches.
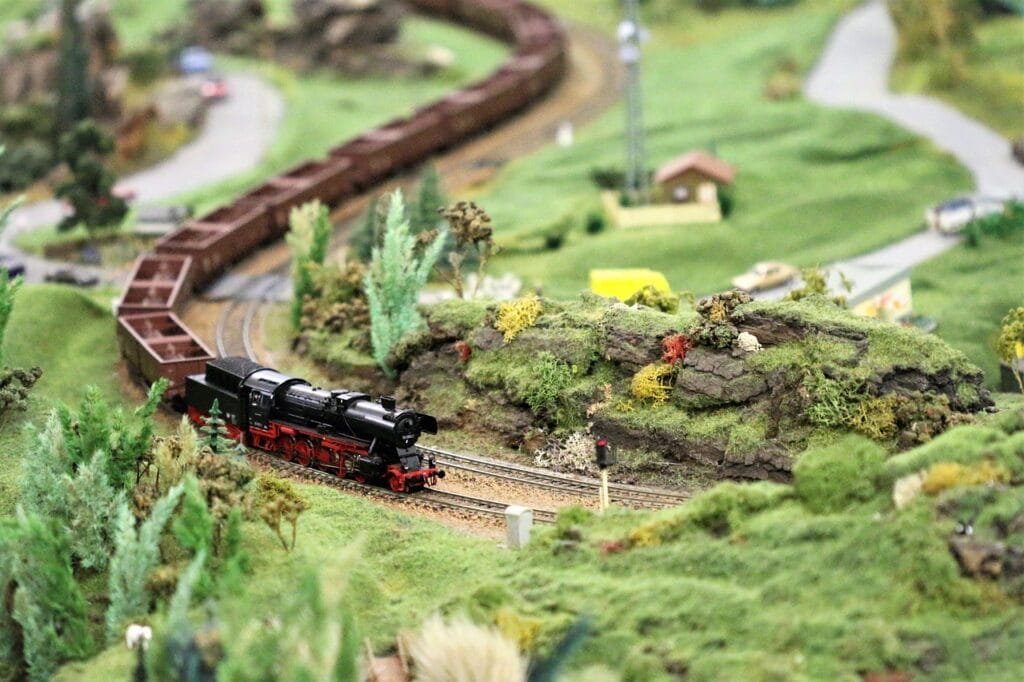
Step 1: Choose a Theme and Scale
- Decide on the atmosphere (rural, urban, mountain, etc.)
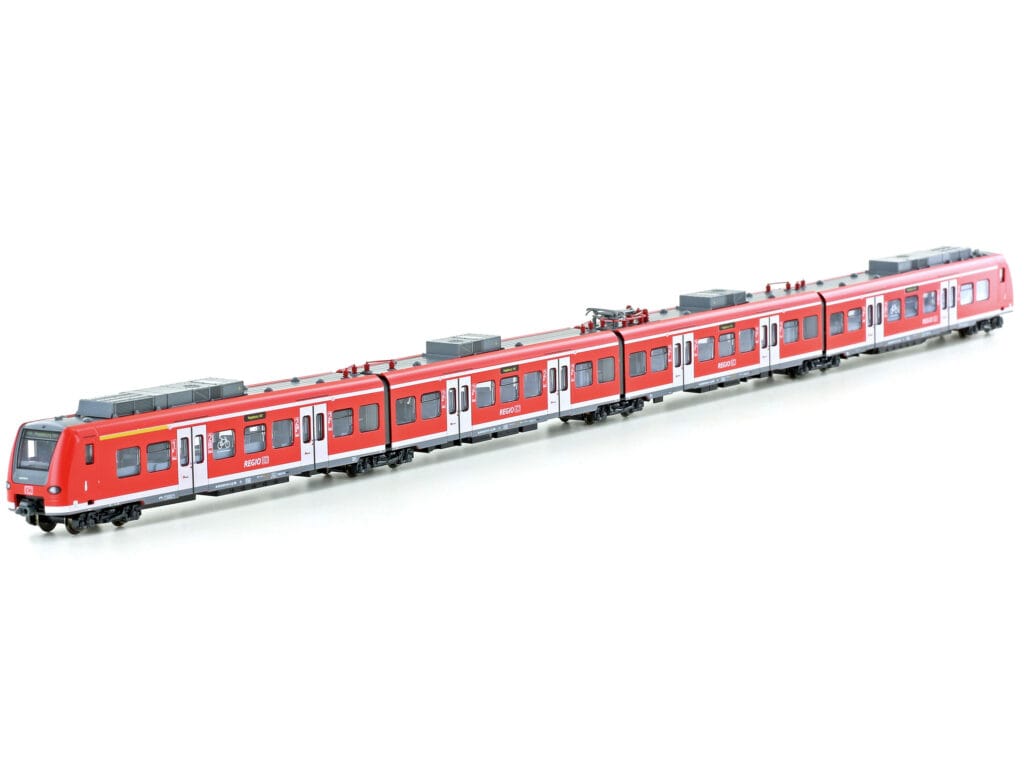
- Choose your model train scale (e.g. HO, N)
Before you begin building, it’s essential to define a clear vision for your layout. Ask yourself what kind of world you want to create. Is it a busy urban scene, a quiet rural village, or a dramatic mountain railway? Choosing a theme helps guide every decision that follows.
Just as important is selecting a scale. The most popular ones include HO scale (1:87) for a balance between detail and space, and N scale (1:160) if you have limited room for your model train layout. Your theme and scale will determine your track size, building models, and the overall feel of your layout — so take your time making this decision.
Step 2: Create a Track Plan
- Sketch or digitally design your layout
- Decide on loop, point-to-point, sidings, stations, etc.
A well-thought-out track plan is the backbone of any great model train layout. You can sketch your design on graph paper or use digital planning tools like SCARM or AnyRail to map it out.
Think about how your trains will move: Do you want a loop for continuous running or a point-to-point track for more realism? Will you include sidings, stations, or hidden storage tracks? A clear and flexible plan not only helps you build efficiently, but it also makes future expansions much easier.
Step 3: Build a Sturdy Base
- Use wood, foam or plywood
- Ensure stability and level foundation
Now that your plan is ready, it’s time to bring it to life — starting with a solid base. Most model train layouts are built on wooden benchwork with a plywood or foam top. This base should be sturdy, level, and big enough to support your entire layout without wobbling.
If space allows, consider adding caster wheels for easy movement, or adjustable legs for comfortable working height. A strong foundation will save you many headaches down the road, especially as your layout grows more complex.
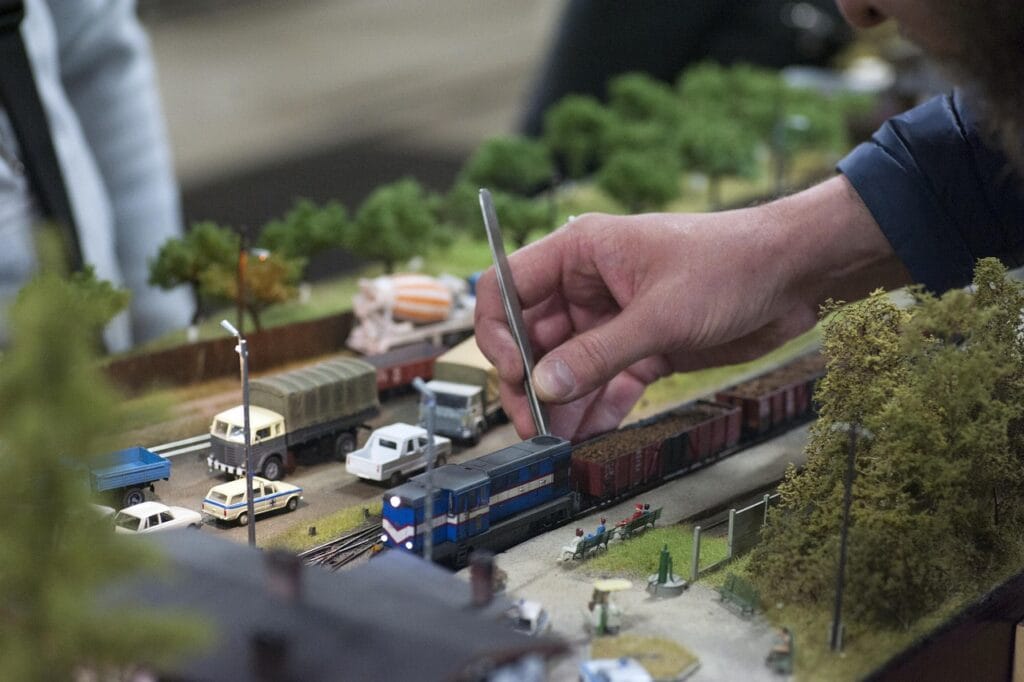
Step 4: Lay the Tracks and Test the Railway
- Fit track loosely first
- Fix in place once satisfied
- Test trains thoroughly
With the base built, you can begin laying down the track. Start by placing your rails loosely according to your plan and adjust them until everything fits well. Only once you’re satisfied should you begin fixing them in place using nails, glue, or screws.
Before moving on, thoroughly test your setup. Run your trains through every section to ensure smooth operation. Check for tight curves, unstable joins, or electrical issues. Fixing these problems now is much easier than after scenery is added. This step ensures your model train layout runs as great as it looks.
Step 5: Choose Electronics and Control System
- Decide between DC or DCC control
- Plan for lighting, signals, automation
The next step is to decide how you’ll control your trains. Beginners might start with a DC (Direct Current) system, which is simple and affordable. More advanced hobbyists often choose DCC (Digital Command Control), which allows multiple trains to run independently on the same track — ideal for complex operations.
In addition to train control, this is the time to consider lighting, signals, and possible automation. Proper planning of your electrical system adds another layer of realism and enhances the experience for years to come.
Step 6: Test and Run Your Railway!
- Test entire layout
- Fix any issues before scenery
At this stage, your layout is fully functional — congratulations! Now it’s time to put it through its paces. Run your trains across every inch of track, test all switches and wiring, and make sure everything works reliably.
Let friends or fellow hobbyists try it too. Sometimes a fresh perspective can spot issues you’ve missed. Once your layout consistently performs well, you can move forward with complete confidence.
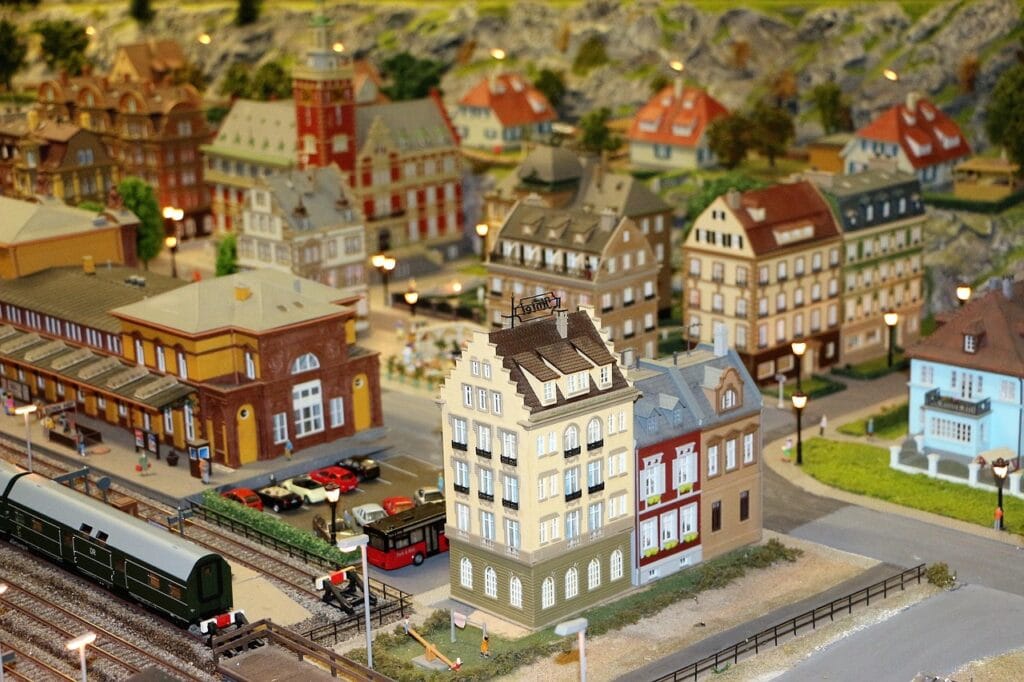
Step 7: Add Scenery and Details
- Start only after reliable running
- Add buildings, grass, figures, etc.
- A layout is never truly finished
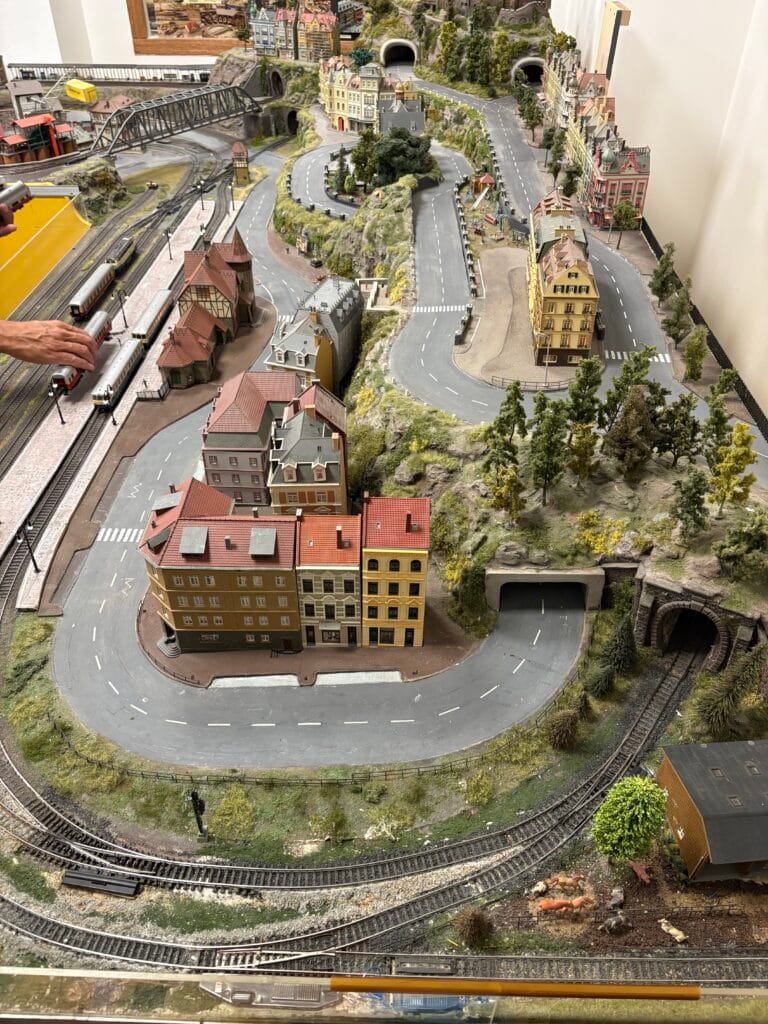
With your train system running smoothly, you can now turn your attention to scenery — the element that truly brings a model train layout to life. From grassy hills and forests to bustling towns and stations, the possibilities are endless.
It’s important to wait until your layout works perfectly before adding scenery. Changing things later can be difficult once glue and foam are involved. And remember — a model railway is never really finished. There’s always a new detail to add, a new tree to plant, or a scene to improve. This part of the process is where your creativity can really shine.
Final Thoughts
Building a model train layout is more than just a hobby — it’s a journey into craftsmanship, design, and imagination. With careful planning and each step approached thoughtfully, you’ll create a layout that not only looks incredible but also functions flawlessly.
Here’s a quick recap of the 7 essential steps to building your layout:
- Step 1: Choose a Theme and Scale
- Step 2: Create a Track Plan
- Step 3: Build a Sturdy Base
- Step 4: Lay the Tracks and Test the Railway
- Step 5: Choose Electronics and Control System
- Step 6: Test and Run Your Railway
- Step 7: Add Scenery and Details
Whether you’re just getting started or expanding an existing layout, Model Train Media is here to guide and inspire you with expert tips and a growing global community of passionate hobbyists.
🚂 Ready to build your dream layout? Join our community and start sharing your journey today!

Responses